Availability
By default, the NAE schedule is always green, indicating it is ready to receive Event Offers. To avoid getting offers when you have other obligations, mark the dates as Unavailable by following the steps below. Best Practice: Update the calendar for schedule availability 2-3 months ahead.
The NAE Availability window allows you to schedule your availability for the event. You can update your availability for the selected date and time. Based on your availability, the Credentia Operations will send you the notification of Event Offers.
Schedule Availability
Follow the steps below to view your availability for the events:
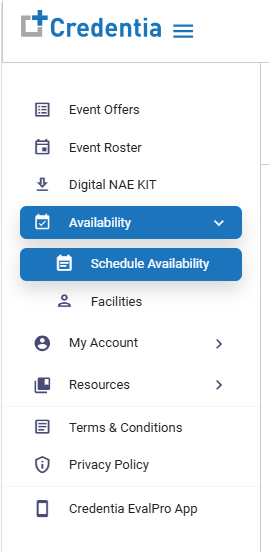
- In the left-side navigation menu, click the Availability option and select Schedule Availability from the dropdown to load the Schedule Availability page.
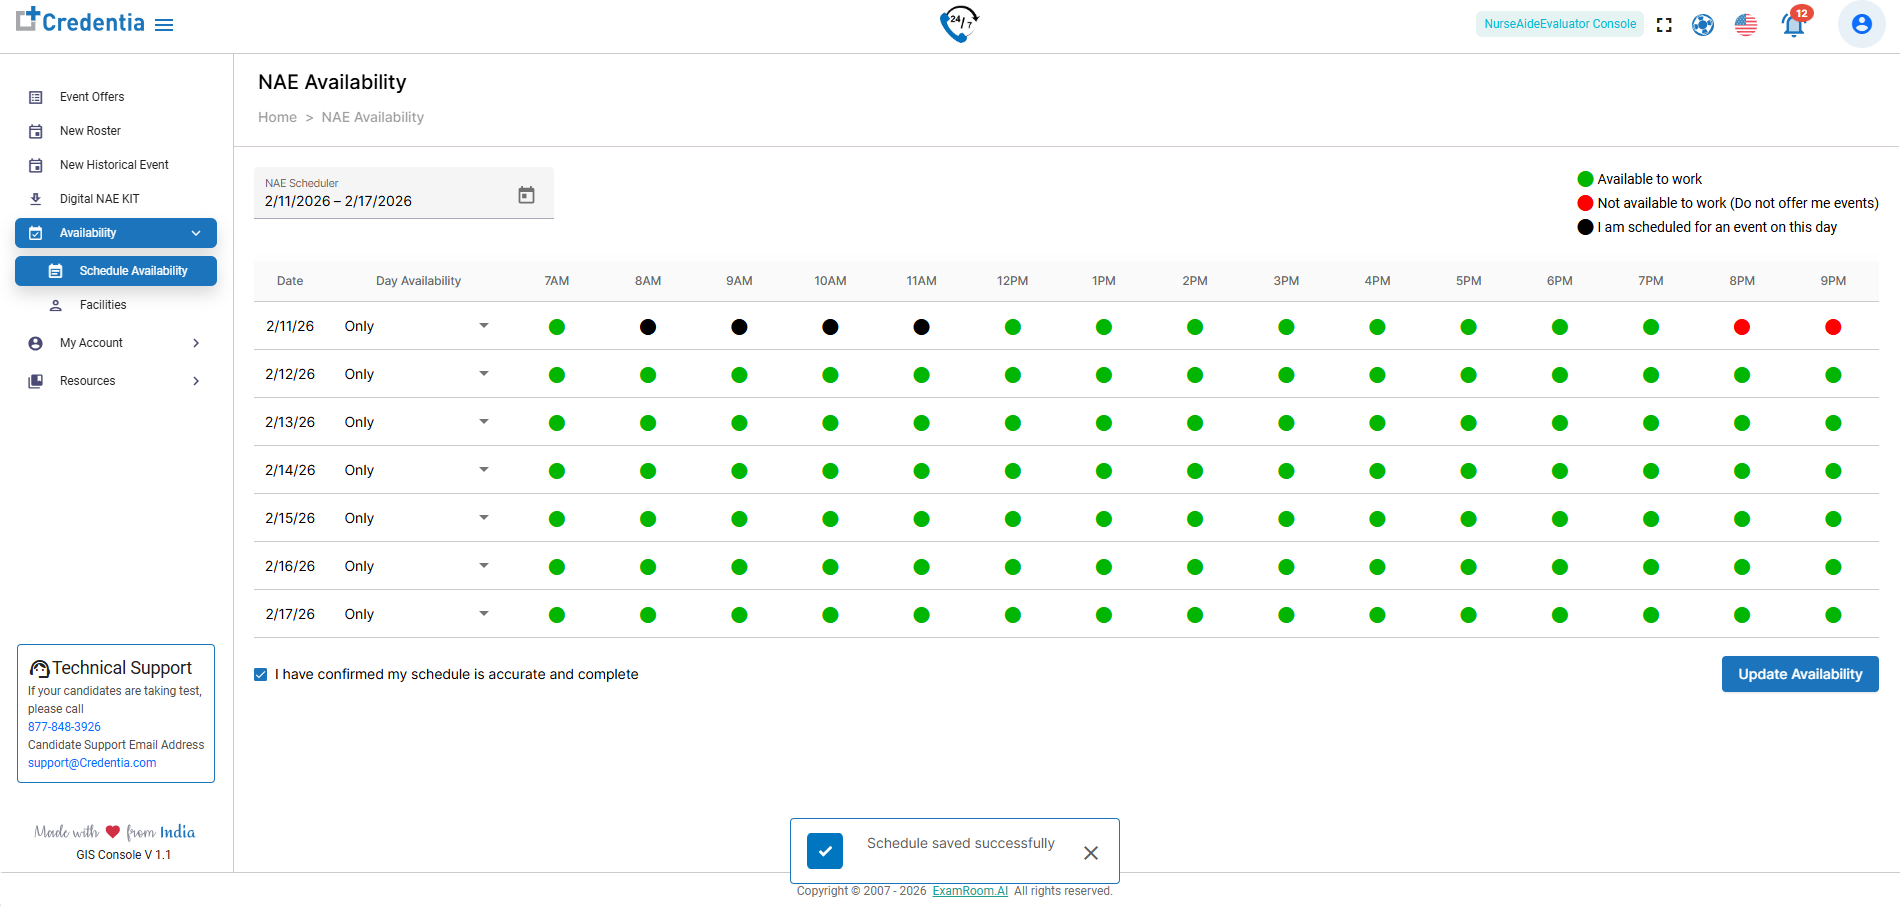
- The Availability page allows you to view and update your availability at your convenience. You can select future dates in the NAE scheduler to view or update your availability for those dates. See the Schedule NAE Availability below to update your availability.
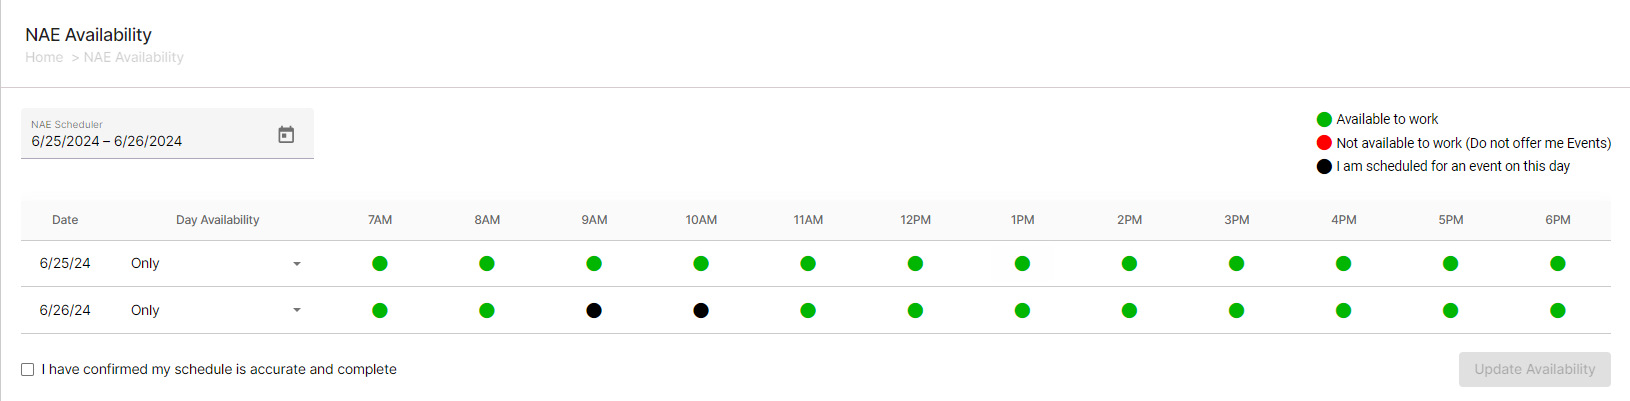
The following outlines the functionality of the Availability page.
| Field or Icon | Field or Icon Name | Description |
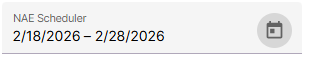 | NAE Availability Scheduler | Click the calendar icon and select the required date to view and update availability. |
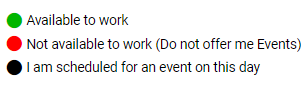 | Availability Indicators | A green dot indicates that you are available to work. A Red dot indicates that you are not available to work. A Black dot indicates that the event is scheduled. |
| Date | Date Column | This field displays the date information. |
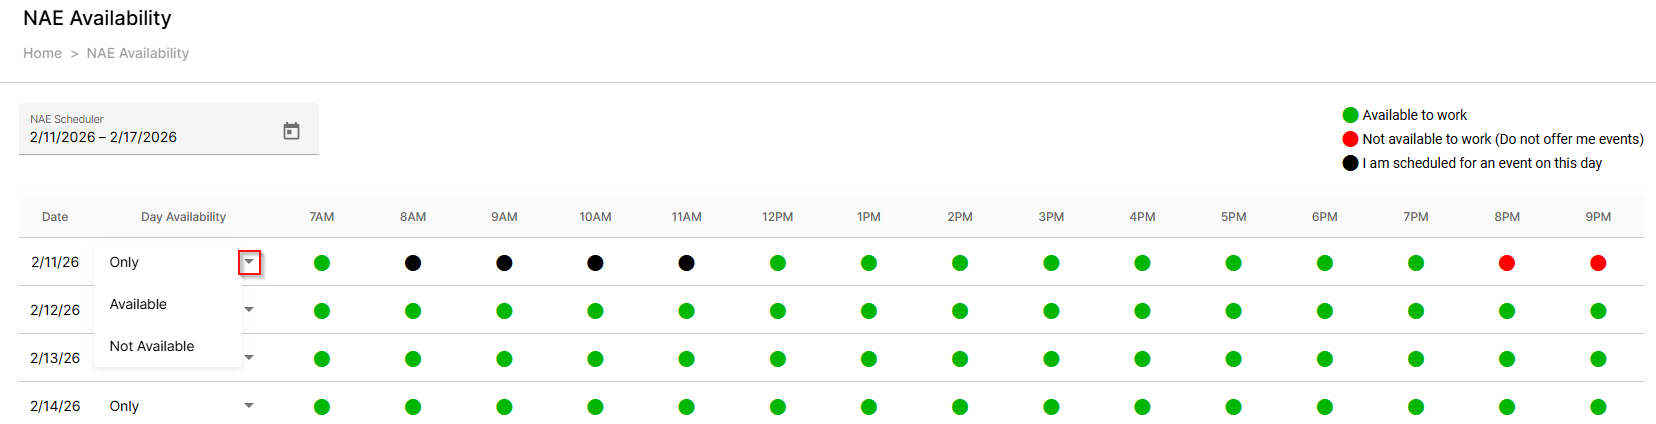
| Day Availability | Day Availability Column | This field lets you set your full-day availability by selecting Available or Not Available. Or select only to custom update by partial time of day. |
| Hourly Time (7 a.m. to 9 p.m.) | Hourly Time columns | Displays the availability by hour in the hourly time columns. |
Scheduling NAE Availability
To update your availability, follow these steps:
- In the left-side navigation menu, click the Availability option and select NAE Availability from the dropdown menu.
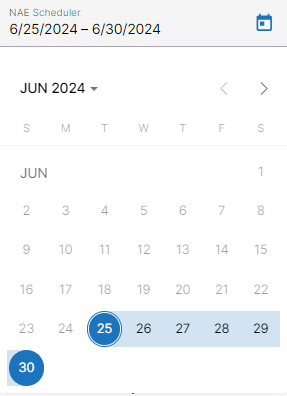
- Click Calendar
and select the required dates you want to view and update availability.
Note: You can select multiple dates to update your availability.
- Once the dates are selected, click Day Availability and select the required options from the dropdown:
- Select Only to add or change your availability within the chosen hours or to indicate partial availability for the day.
- Select Available to indicate that you are available for the entire day.
- Select Not Available to indicate that you are not available for the entire day.
- If you updated your availability, select the check box corresponding to “I have confirmed my schedule is accurate and complete,” provided at the bottom of the page.
- Click Update Availability to save and update your availability. You will see a confirmation message on the screen: “Schedule saved successfully.”
Facilities
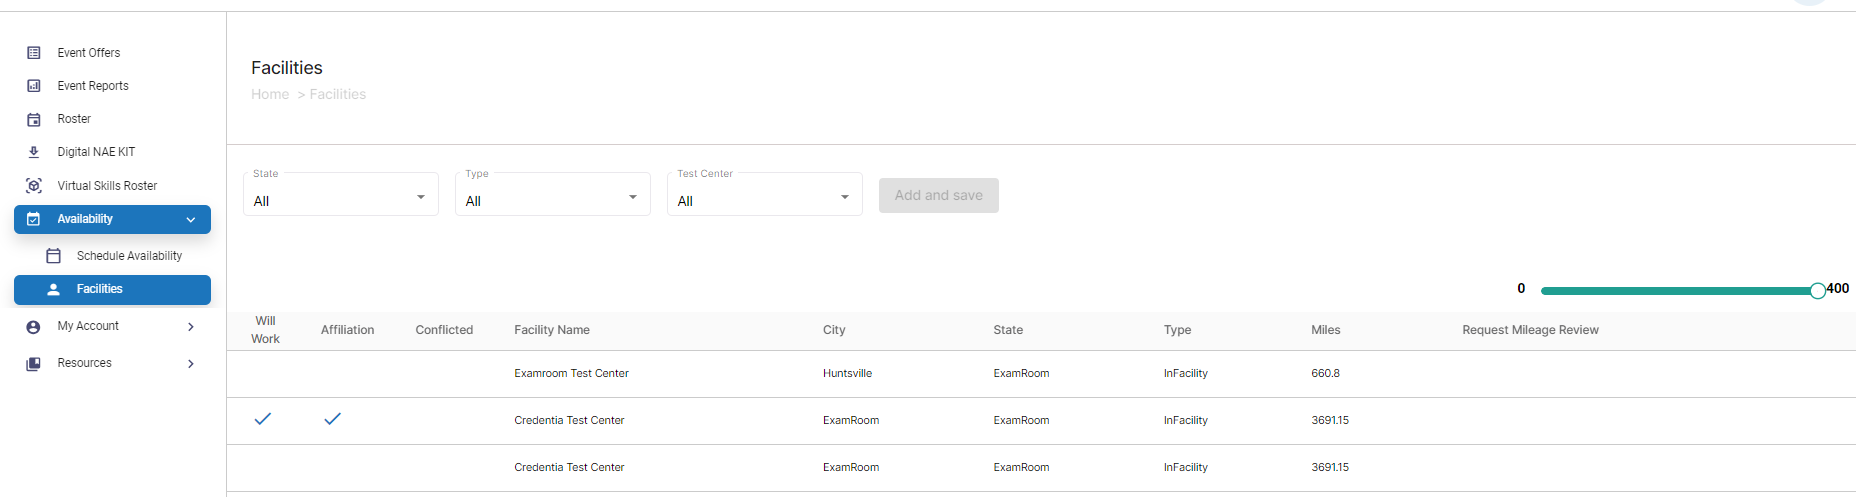
The Facilities window allows you to update your interest in working or not working at the test center. If you are not willing to work at any of the test centers, you can select that test center and update the reason for not being interested. You will not receive the Event Offer notifications for the selected test centers where you are not willing to work.
Note: It is not mandatory to update your interested test centers in Facilities. If you are willing to work, you can update the test centers.
Adding Facilities
To update the Facilities, follow the steps below:
- In the left-side navigation menu, click the Availability option and select Facilities from the dropdown menu.
- In the Facilities page, use the filter option to find the test centers
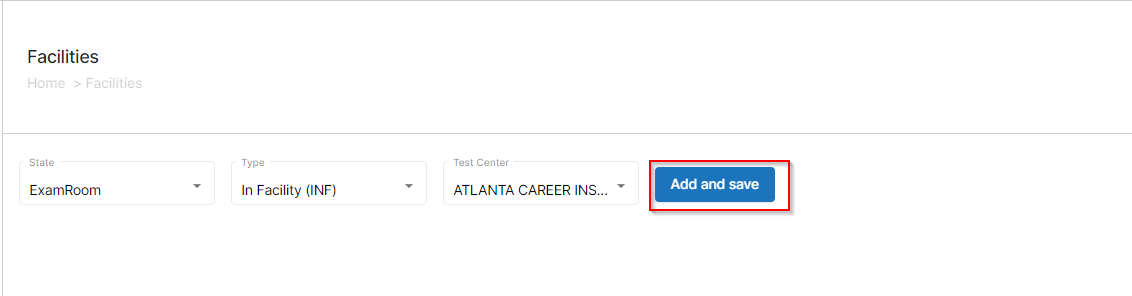
- Click State and select the state from the dropdown menu.
- Click Type and select the required type of test center from the dropdown menu.
- Click Test Center and select the required test center from the dropdown menu.
- Use the Mileage Range bar to filter search the test center by the distance from your primary location.
- After selecting all the required fields, click Add and Save to add the facility.
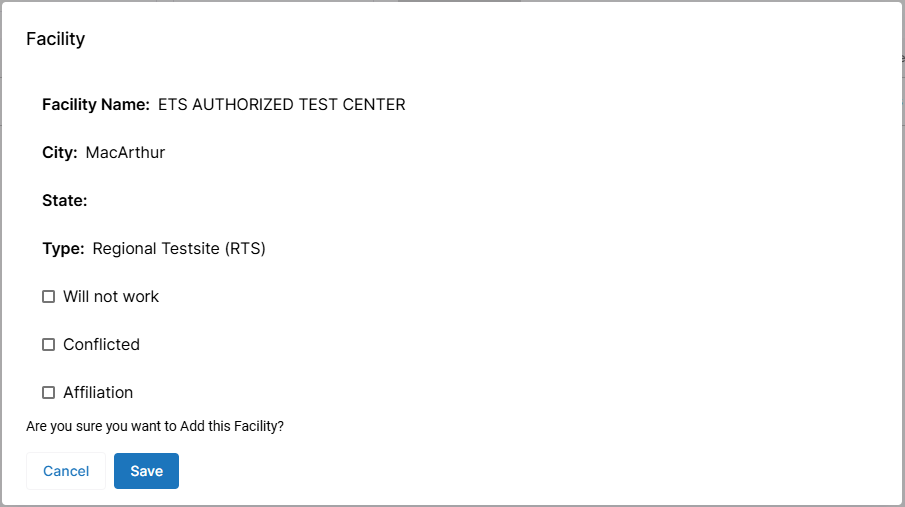
- Check and confirm that all the entries added are correct.
- Select the required check box:
- Select Will not work; if you do not want to work in the selected test center and are not willing to provide a reason.
- Select Conflicted; if you do not want to work in the selected test center, then enter the Reason.
- Select Affiliation; if you do not want to work due to affiliation with the test center, then select Current or Previously from the dropdown menu and enter the Reason.
- If no checkboxes are selected, it means you are willing to work at that test center.
- Click Save to save the section. Click Cancel to exit the page without saving.